Azure Authorization connection guide
Using Azure Authorization-Code requires setting up an Azure App Registration to allow the Reactor Client to authenticate and access your services. To create the required app registry, follow this step-by-step guide:
Sign in to the Azure Portal
Go to the Azure Portal and sign in with your Azure account credentials.
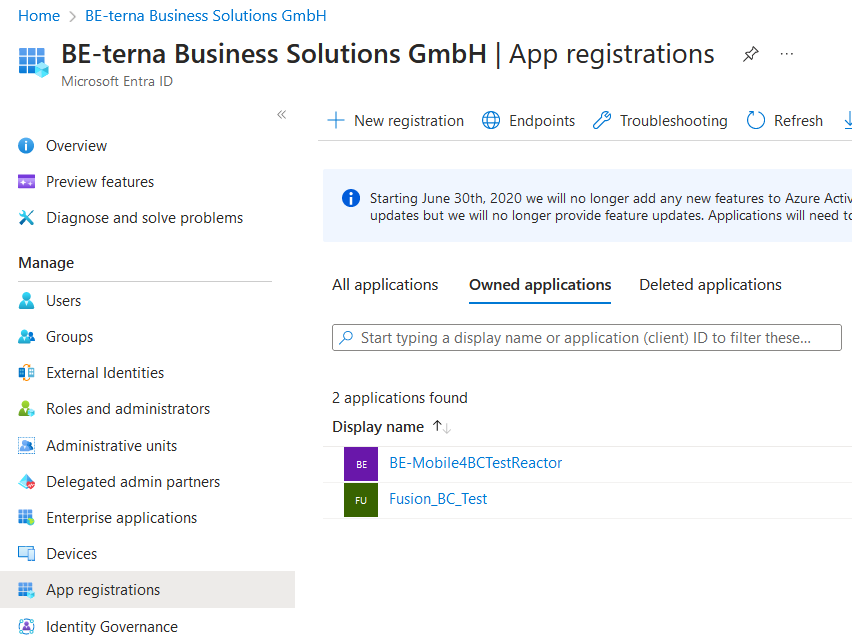
Create a New Azure Application Registration
In the Azure Portal, look for 'Azure services' and click on 'Microsoft Entra ID'.

Configure the App Registration
- Click on 'App registrations' in the left-hand menu.
- Select 'New registration.'
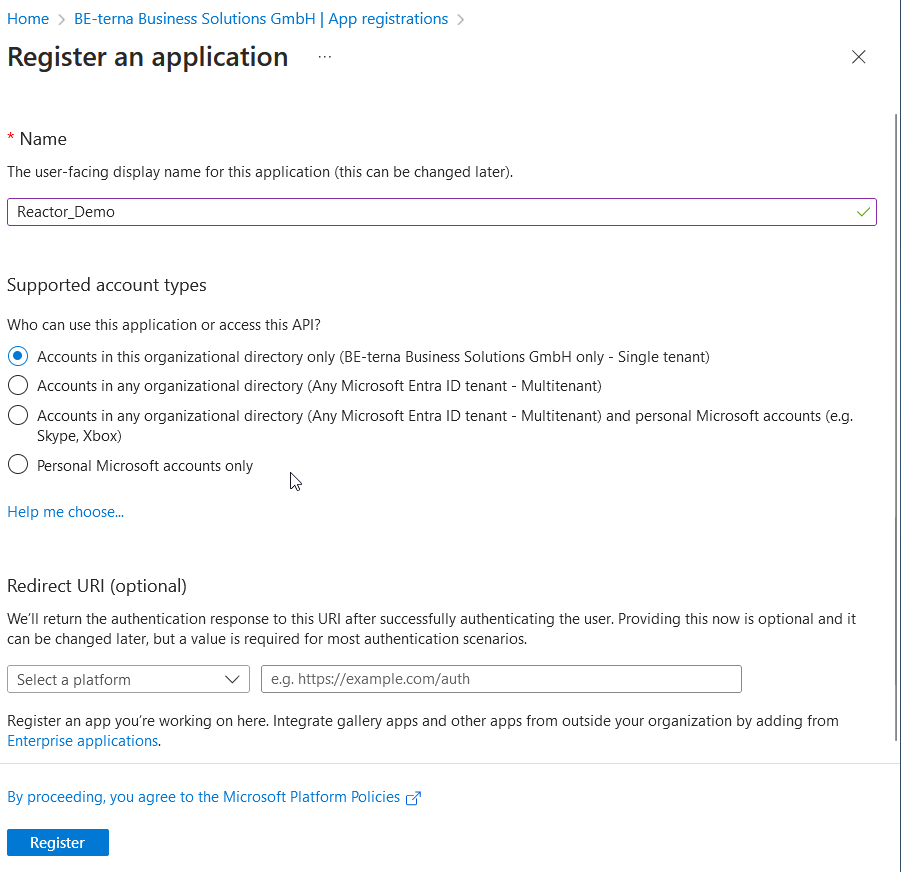
Fill out the registration form by giving a meaningful name to your application and click the 'Register' button.
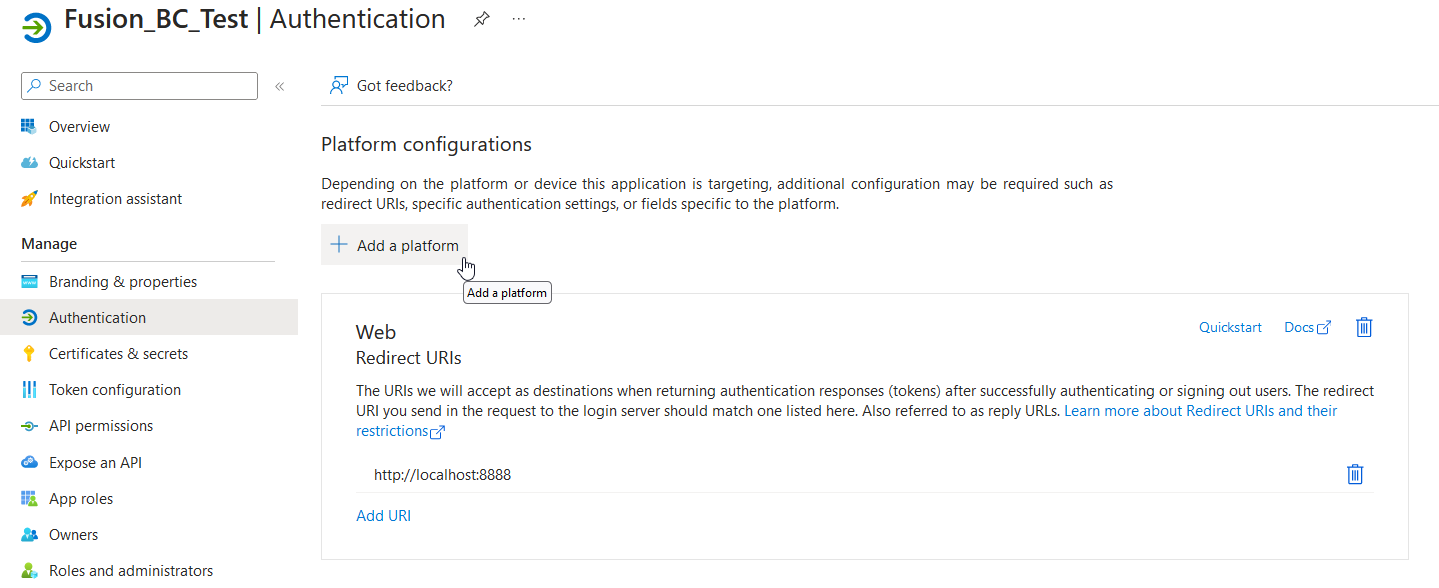
Configure Redirect URI
Navigate to the 'Authentication' section in the app registration.
- Click on 'Add a platform'
- Choose 'Web'
- Enter 'http://localhost:8888' for the 'Enter the redirect URI of the application' field
- Click 'Configure'
Configure API Permissions
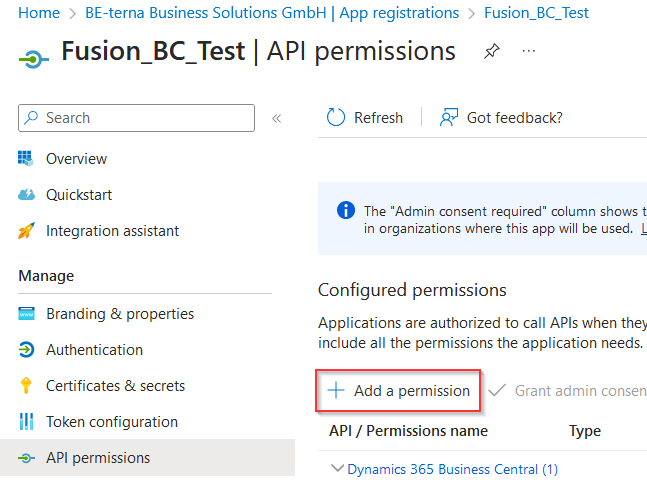
After registration, navigate to 'API permissions' in the left-hand menu for your app registration.
You need two permission:
'Dynamics 365 Business Central' 'user_impersonation' permission
- Click on '+ Add a permission'.
- Select 'Microsoft APIs'.
- Locate and select 'Dynamics 365 Business Central'.
- Choose 'Delegated permissions' and mark the checkbox for 'user_impersonation'.
- Click the 'Add permissions' button to add the permission.
'Microsoft Graph' API permission 'User.Read'
- Check if the 'Microsoft Graph' API permission 'User.Read' is added. If not click on '+ Add a permission' again.
- Select 'Microsoft APIs.'
- Search for 'Microsoft Graph' and select it.
- Choose 'Delegated permissions' and search for 'User.Read'.
- Mark the checkbox for 'User.Read'.
- Apply the permission by clicking the 'Add permissions' button.
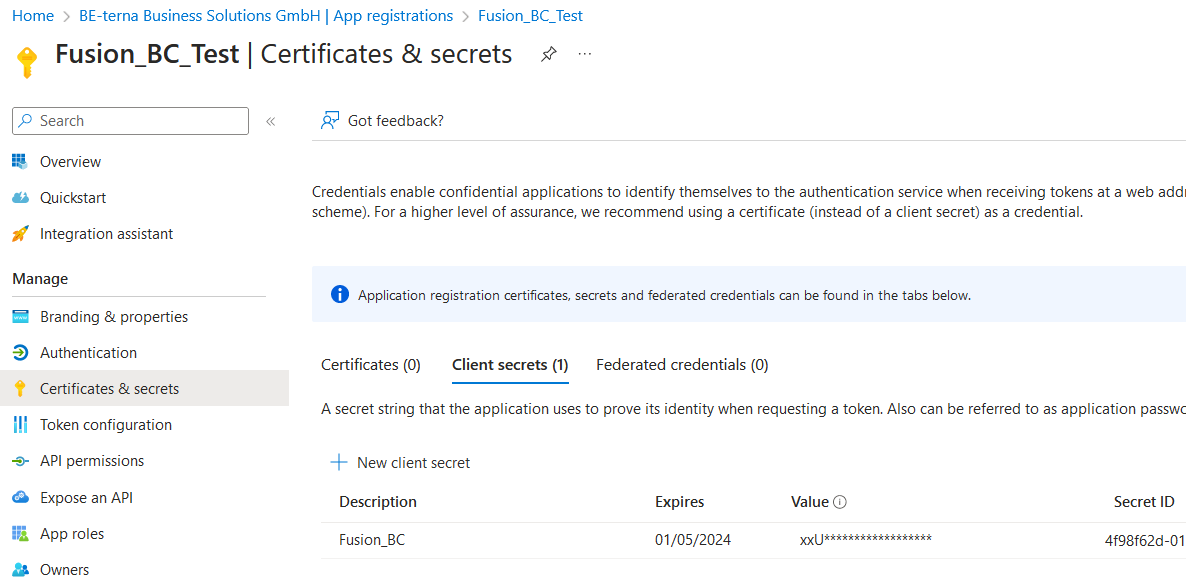
Create a Client Secret (App Secret)
- In the left-hand menu, under 'Certificates & secrets' click on 'New client secret.'
- Enter a description for the secret and select an expiration period (e.g., 1 year).
- Click 'Add.'
Attention
Copy and save the generated client secret immediately, as it won't be visible again.
Connect the Reactor Client
After you've created the Azure Application Registration, set up your Reactor Client, as followed
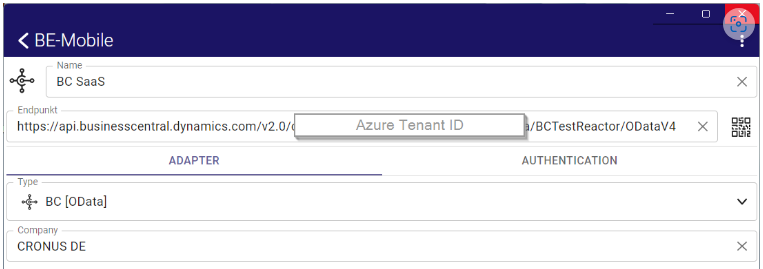
Apdapter
- Give your Endpoint a name.
-
Set up the Endpoint's URL. Use this format
https://api.businesscentral.dynamics.com/v2.0/[Azure Tenant ID]/[Environment Name]/ODataV4 -
Set the Type to 'BC [OData] and fill in your company name
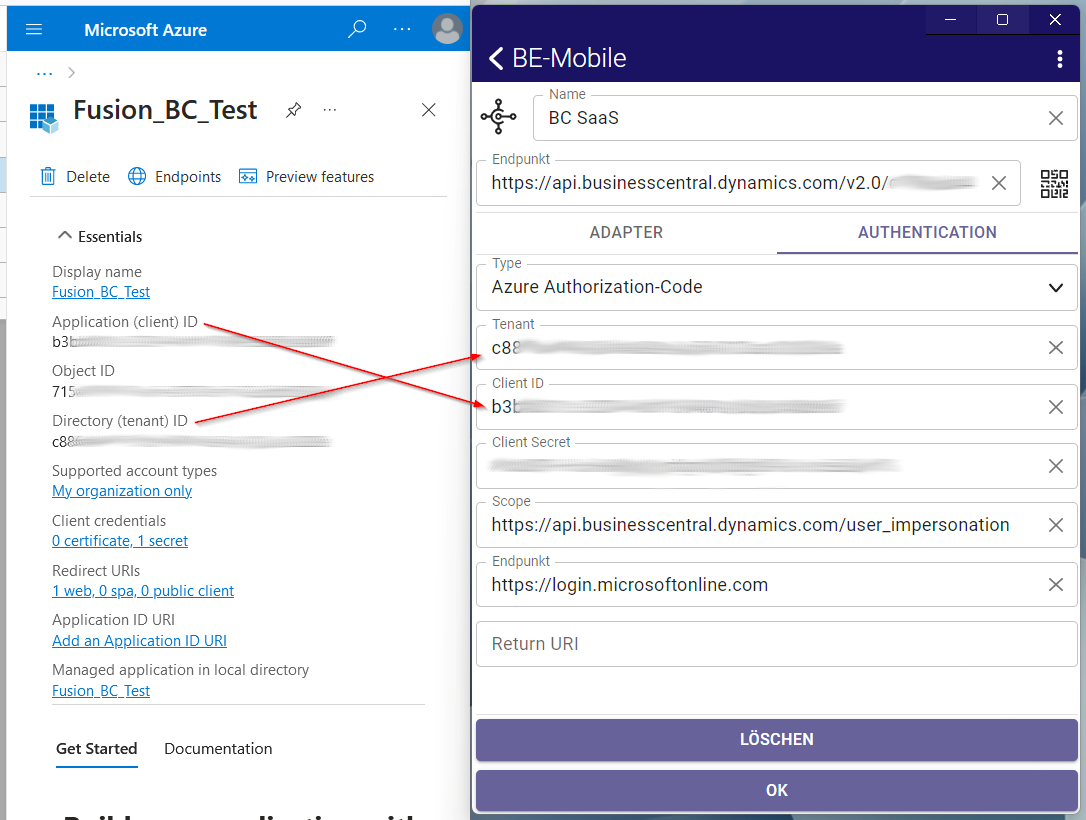
Authentication
For the next steps, use the information in 'Overview' in the left-hand menu and your Client Secret.
- Set up the authentication method to 'Azure Authorization-Code'
- Fill in the values for Tenant, Client ID, Client Secret and Endpoint
- The Scope must be 'https://api.businesscentral.dynamics.com/user_impersonation'
That's it! You've successfully created an Azure App Registration. Your application will now be able to securely authenticate and interact with your service.